Image Compressor: Reduce Photo Size in KB
Make photos smaller in KB with one tap, or set your own quality or target size, convert to WebP, JPG or PNG and resize in bulk. Free, with no upload and no watermark.
- 100% free
- No sign-up
- Runs in your browser
- Updated October 2026
1Add images
2Settings
One-tap target size70–80% looks the same as the original for most photos.
The tool finds the highest quality that fits. Very small targets also reduce the pixel size.
PNG is lossless, so quality and target size do not apply. Use resize, or choose WebP for a much smaller file.
Results
No images yet.
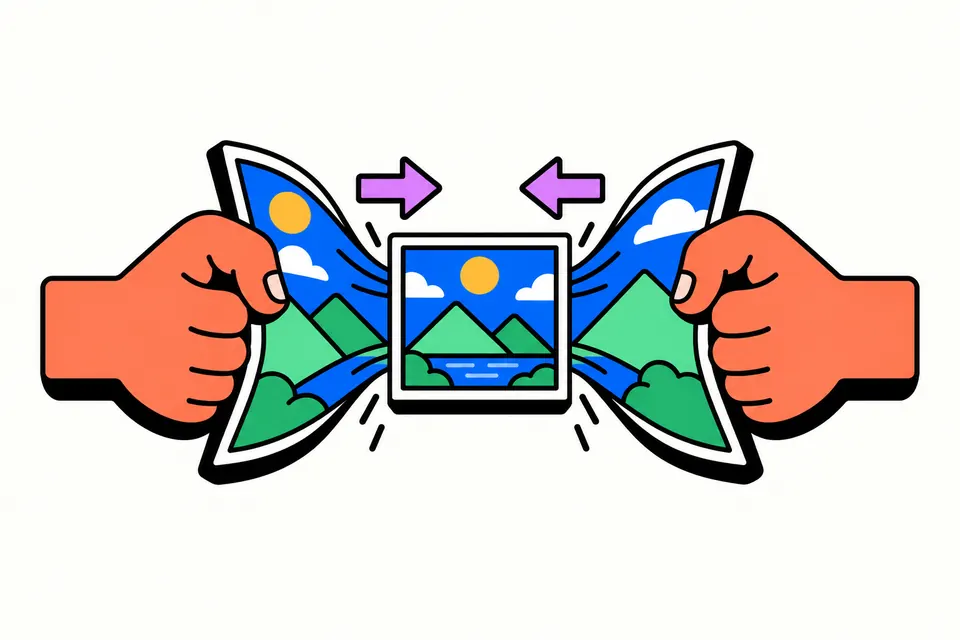
Why compress images?
Phone photos are often several megabytes each, far more than most uses need. A smaller file loads and uploads faster, even on a weak mobile signal.
- Website owners: large images are one of the most common reasons a page feels slow. Smaller images help your pages open quickly for visitors on mobile data.
- Online sellers: product photos for marketplaces, your own shop page or a WhatsApp catalogue upload faster when they are lighter, and you can prepare a whole batch at once.
- WhatsApp and email: a compressed photo is quicker to send and easier for the other person to download, and it stays under email attachment limits.
- Government and job forms: many online forms set a maximum file size in KB for photos and documents. The limit is different for each form, so always read that form's instructions first.
For exam and recruitment forms that ask for an exact photo and signature size in pixels and KB, use our separate exam photo and signature resizer on this site. This compressor is for general images.
How to use the image compressor
- Add your images. Drag and drop them onto the page or click to pick files. You can add up to 20 JPG, PNG or WebP images at a time.
- Choose the output format. Pick JPG, WebP or PNG. You can keep the same format or convert, for example PNG to WebP.
- Set the compression. Tap a one-tap target such as 50 KB or 100 KB, use the quality slider, or switch to target size and type any size in KB.
- Resize if needed (optional). Enter a maximum width and height. The image is scaled down to fit and keeps its proportions, so nothing is stretched.
- Check the results. For each image you see the size before and after, the percentage saved and a preview. Zoom in on faces and text to be sure the quality is fine.
- Download. Save each image one by one, or download all of them together as a ZIP file.
JPG vs PNG vs WebP: which format to choose
JPEG is a lossy format: it throws away some detail to make the file smaller. PNG is lossless: it keeps every pixel exactly. WebP can do both. MDN's image format guide explains that JPEG has no alpha channel (no transparency), PNG supports full transparency, and WebP supports lossy and lossless compression, transparency and animation.
| Format | Best for | Transparency | Typical size |
|---|---|---|---|
| JPG | Photos, sharing anywhere, forms that only accept JPG | No | Small for photos |
| PNG | Logos, screenshots, graphics with text or sharp edges | Yes | Large for photos, fine for simple graphics |
| WebP | Website images, both photos and graphics | Yes | Usually smaller than JPG or PNG at similar quality |
Google's WebP documentation reports that in its tests lossy WebP files were 25 to 34% smaller than comparable JPEGs, and lossless WebP files were 26% smaller than PNGs. Your own savings will depend on the image. MDN notes that WebP now works in current versions of Chrome, Edge, Firefox, Opera and Safari, so it is a good choice for websites.
A simple rule: use WebP for your own website, JPG for photos you send to people or upload to forms and portals, and PNG only when you need sharp graphics or transparency. Many forms accept only JPG or PDF, so check before converting. If you turn a transparent PNG into JPG, the transparent parts are filled with a solid background, because JPG cannot store transparency.
Quality mode vs target size mode
Quality mode gives you a slider. Lower quality means a smaller file but more visible blur and blocky patches. For most photos, a middle-to-high setting gives a big saving with little visible difference. Move the slider and compare the preview with the original.
Target size mode is useful when you have a fixed limit. Type a size in KB, such as 200 KB, and the tool searches for the highest quality that still fits under that size.
The one-tap buttons (20, 50, 100, 200 and 500 KB) switch straight to target size mode with that number, which covers the limits most forms and portals use. If you had chosen PNG, they switch the output to JPG, because a PNG has no quality setting to lower.
Quality only matters for JPG and WebP, which are lossy. PNG is lossless, so the main ways to get a smaller PNG are to resize it or convert it to WebP. If a very small target is hard to reach, lower the maximum width as well. Fewer pixels need fewer KB.
Resizing tips
Resizing often saves more than compression alone. A 4000 px wide phone photo shown in a 1200 px wide space on a website is wasting most of its pixels.
- Website hero or banner: rarely needs to be more than about 1600 to 2000 px wide.
- Blog or content images: about the width of your content column, often 800 to 1200 px.
- Product photos: follow the size each marketplace asks for in its seller guidelines.
- Sharing on WhatsApp or email: around 1280 to 1600 px on the longest side is usually enough for viewing on a phone.
Avoid making an image larger than its original size. That adds KB without adding any detail. If you need an exact pixel size or a print size in cm, use the photo resizer, which also has a minimum KB option for forms that reject files that are too small.
iPhone HEIC photos
iPhones save photos in the HEIC format by default to save space. Safari on iPhone, iPad and Mac can open HEIC, so the compressor works with these photos there and saves them as JPG, WebP or PNG. Most other browsers, including Chrome on Windows and Android, cannot read HEIC. If the tool shows a HEIC message, open this page in Safari on the iPhone, or change the iPhone to save new photos as JPG under Settings › Camera › Formats › Most Compatible.
Privacy: your images stay on your device
This compressor runs entirely in your browser. Your images are never uploaded to a server, so personal photos, ID documents and product shots stay with you. There is no sign-up, no watermark and no cost.
Photos from phones and cameras often carry hidden EXIF metadata, such as the date, the camera model and sometimes the exact GPS location where the photo was taken. When the tool re-encodes an image, it writes a fresh file from the pixels only, so this metadata is not copied across. That makes the compressed photo safer to share publicly. If you need to keep the original metadata, keep a copy of the original file.
Compress to a set size
Frequently asked questions
Are my images uploaded to a server?
No. The compressor runs entirely inside your browser, on your own phone or computer. Your images are not sent to our server or anyone else's. This makes it suitable for personal photos and ID documents. Once you close the page, the images and results are gone, so download the files you want to keep before you leave.
How do I compress an image to a size like 100 KB or 200 KB?
Tap one of the one-tap targets, such as 100 KB or 200 KB, or switch to target size mode and type any size in KB. The tool searches for the highest quality that fits under that size. If the result still looks blurry or the target is very small, also set a lower maximum width, because an image with fewer pixels needs fewer KB.
How do I reduce image size without losing quality?
JPG and WebP always remove some fine detail when they compress, but at a middle-to-high quality setting the difference is usually hard to see on a phone or laptop screen. Resizing a very large photo to the size you actually need often saves more than lowering the quality. Check the preview, zooming in on faces and text, and raise the quality if anything looks blurry or blocky.
How do I increase the size of an image in KB?
A compressor makes files smaller, so it cannot add KB. If a form says your photo is too small, use the photo resizer on this site and set a minimum KB. For JPG it saves at the highest quality and then adds harmless padding data until the file reaches the minimum, without changing the picture.
Should I use WebP or JPG?
Use WebP for images on your own website. It usually gives smaller files than JPG at similar quality, and current versions of Chrome, Edge, Firefox, Opera and Safari support it. Use JPG for photos you upload to forms, portals or marketplaces, or send to people, because some websites and apps still accept only JPG or PNG.
Can I use this for government or job application forms?
Yes, for general uploads with a KB limit. Forms often set a maximum file size, and sometimes a format or pixel size too, so read each form's instructions first. For exam and recruitment forms that need an exact photo and signature size, use the separate exam photo and signature resizer on this site instead.
Does the tool remove location and other hidden data from photos?
Yes. Phone photos often carry EXIF metadata, such as the date, camera model and sometimes the GPS location. When the tool re-encodes an image, it creates a new file from the pixels only, so this metadata is not copied. Keep your original file if you need the date or location information later.
How many images can I compress at once, and is there a watermark?
You can add up to 20 JPG, PNG or WebP images in one go. Each one shows its size before and after and the percentage saved. Download them one by one or all together as a ZIP file. The tool is free, needs no sign-up and does not add any watermark to your images.
Can I compress iPhone HEIC photos?
Yes, in Safari on an iPhone, iPad or Mac, which can open HEIC photos; the tool then saves them as JPG, WebP or PNG. Chrome and most other browsers cannot read HEIC, so the tool tells you when a file is skipped. In that case open the page in Safari, or set the iPhone camera to Most Compatible so it saves JPG.